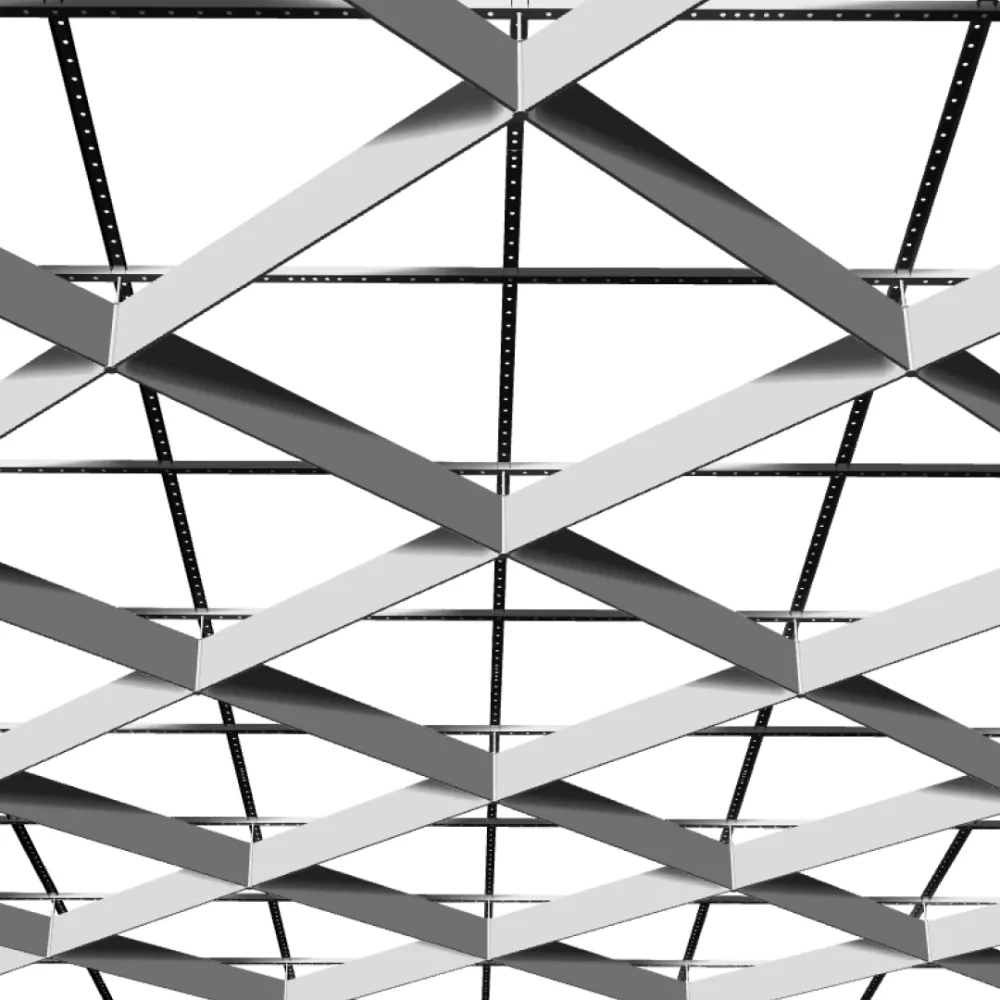
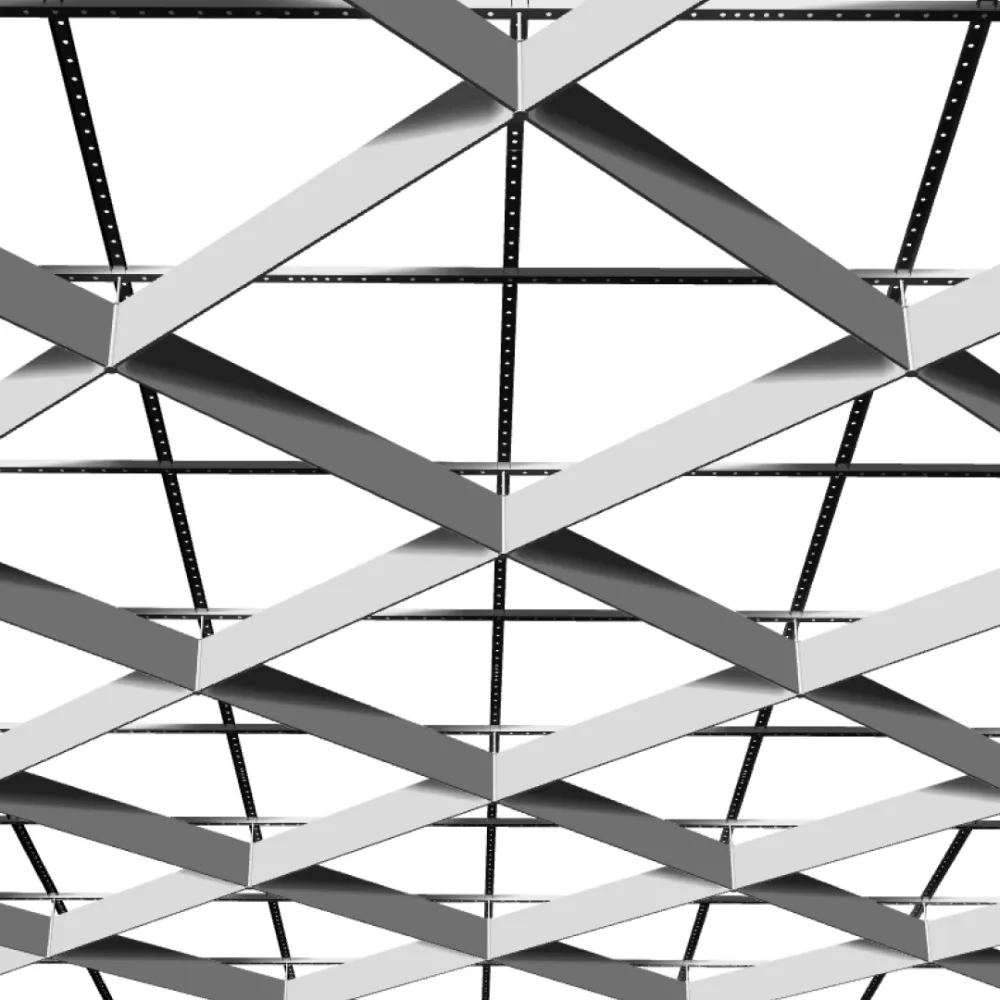
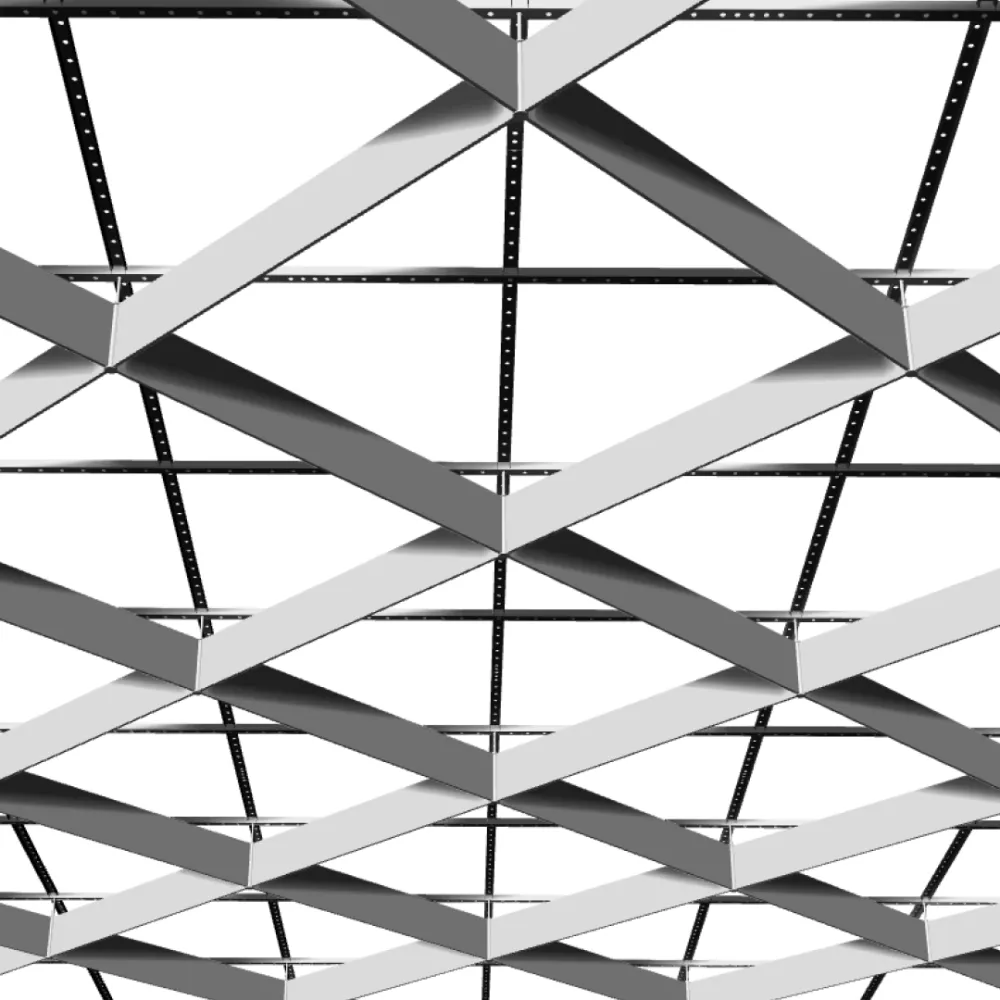
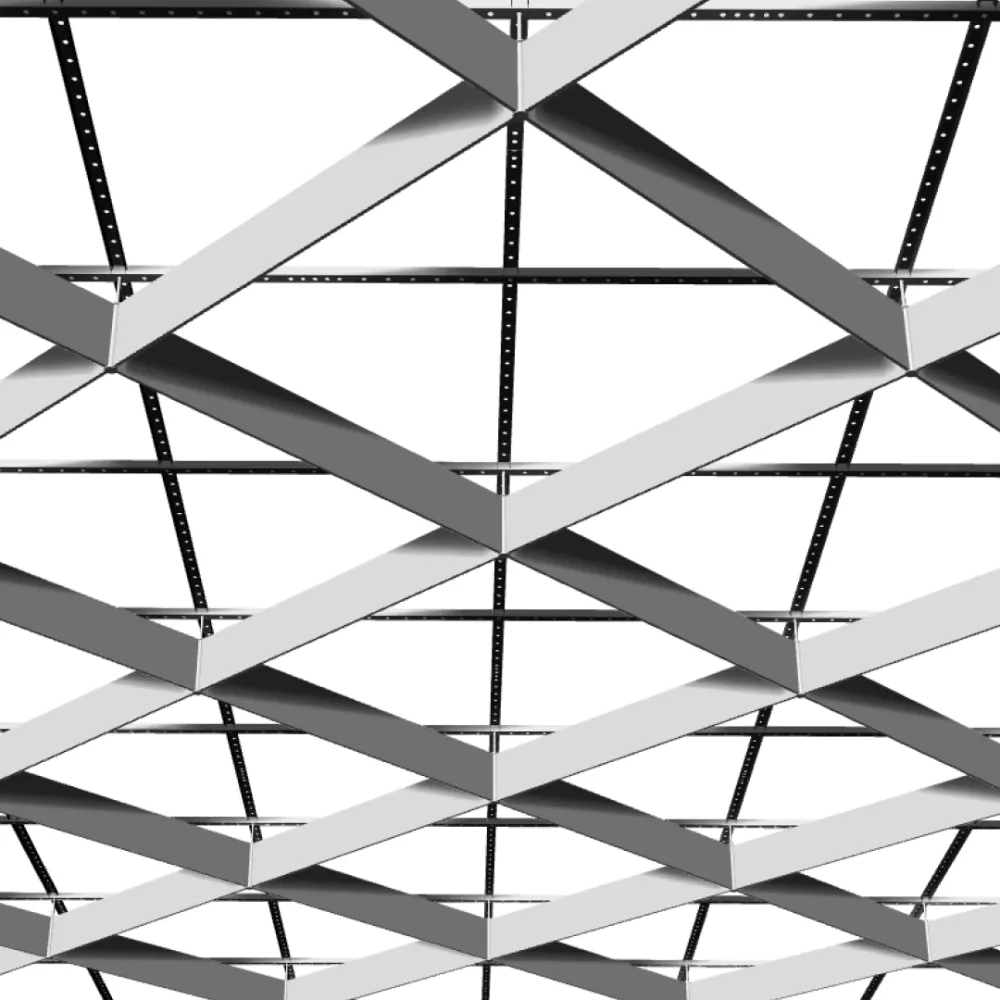
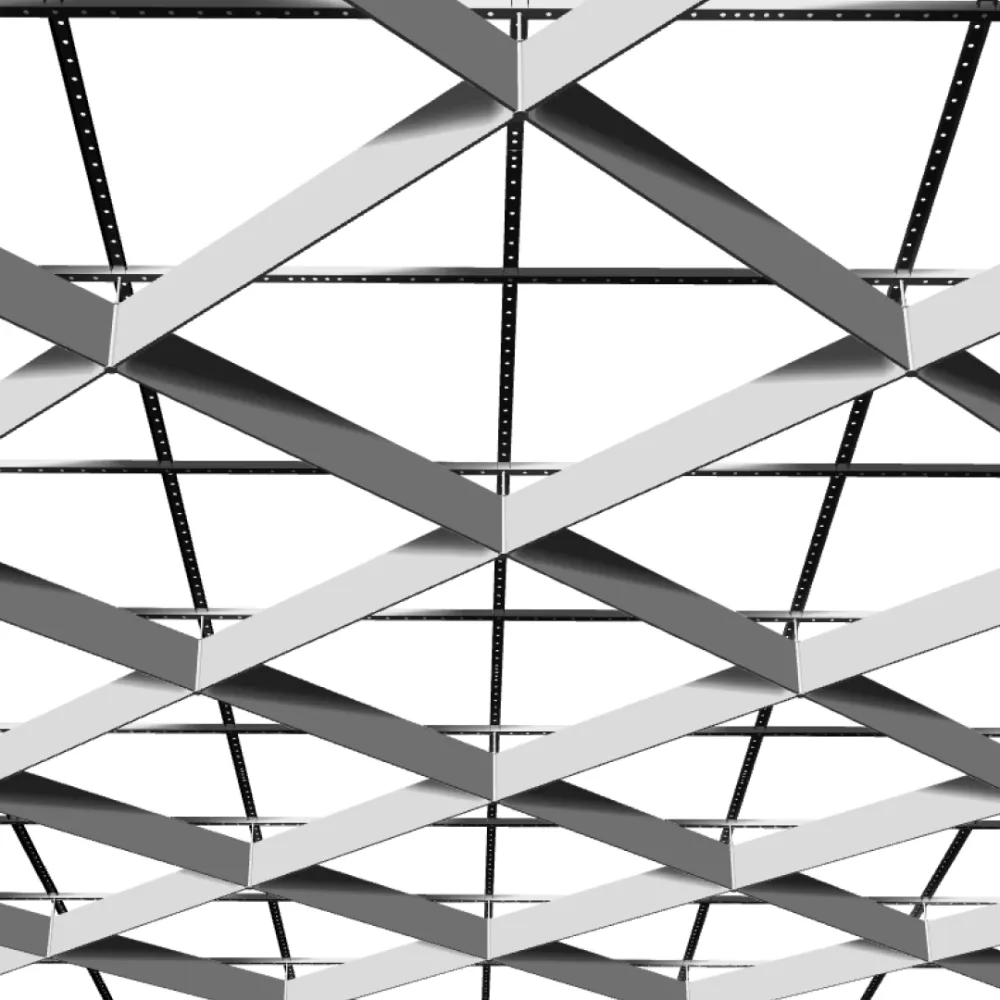
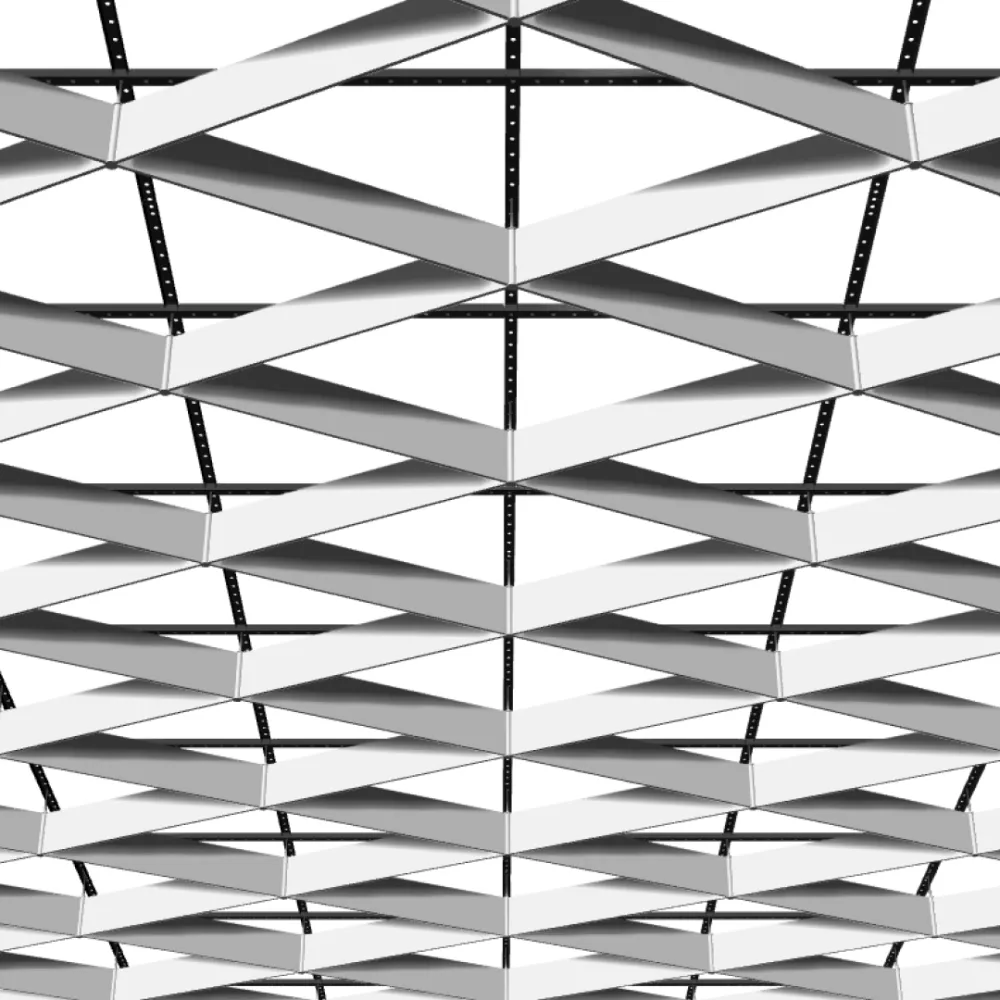
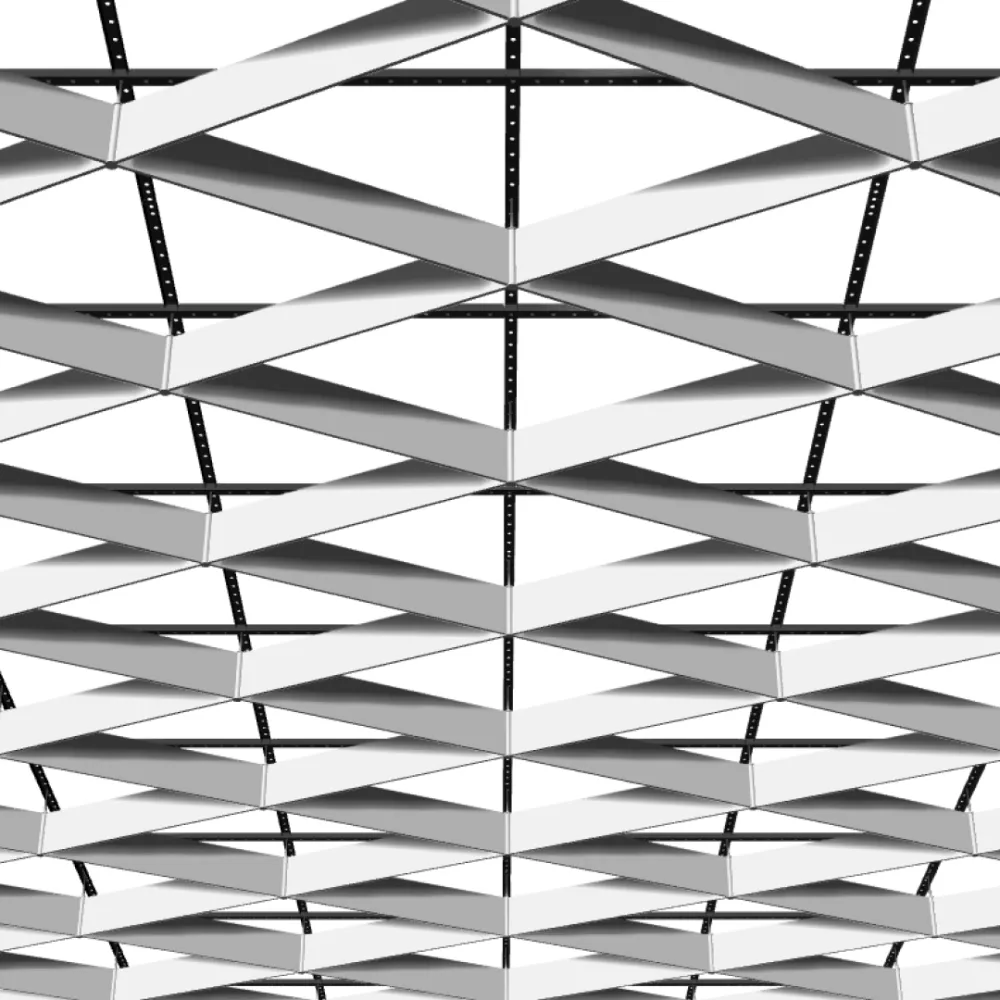
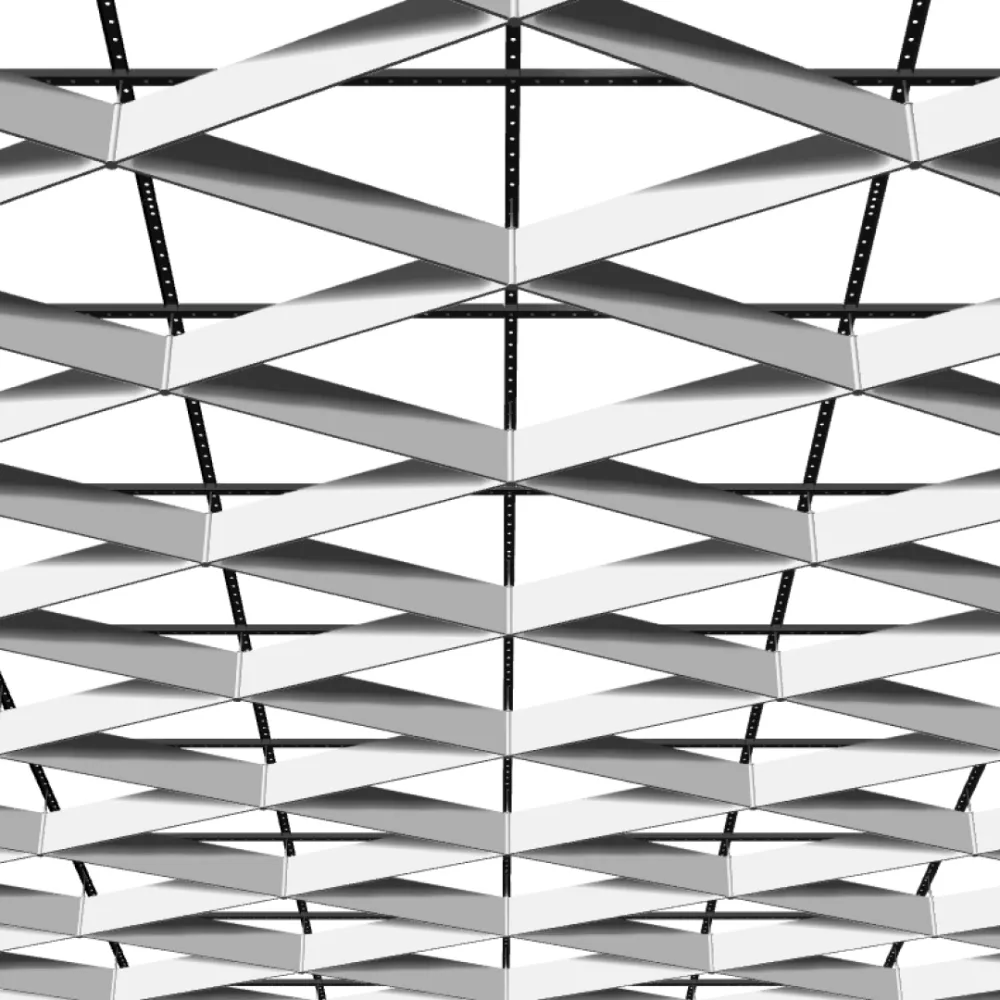
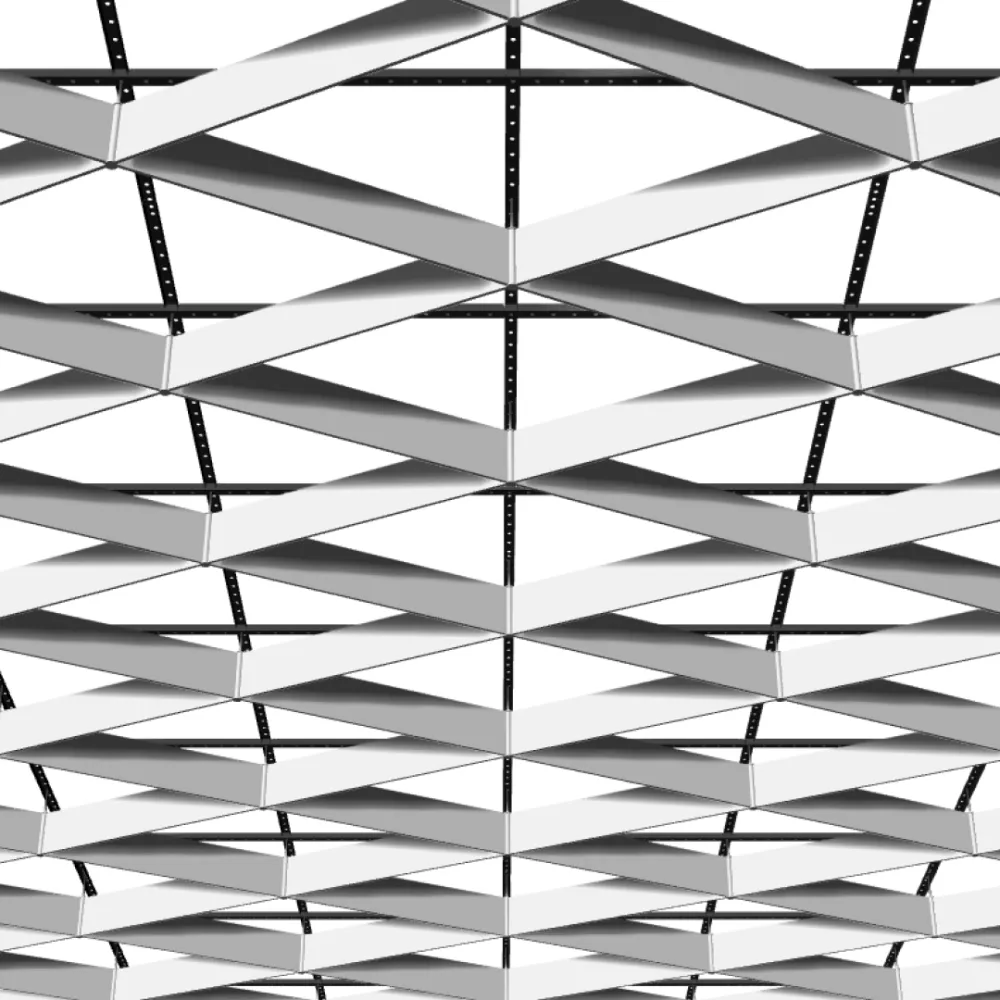
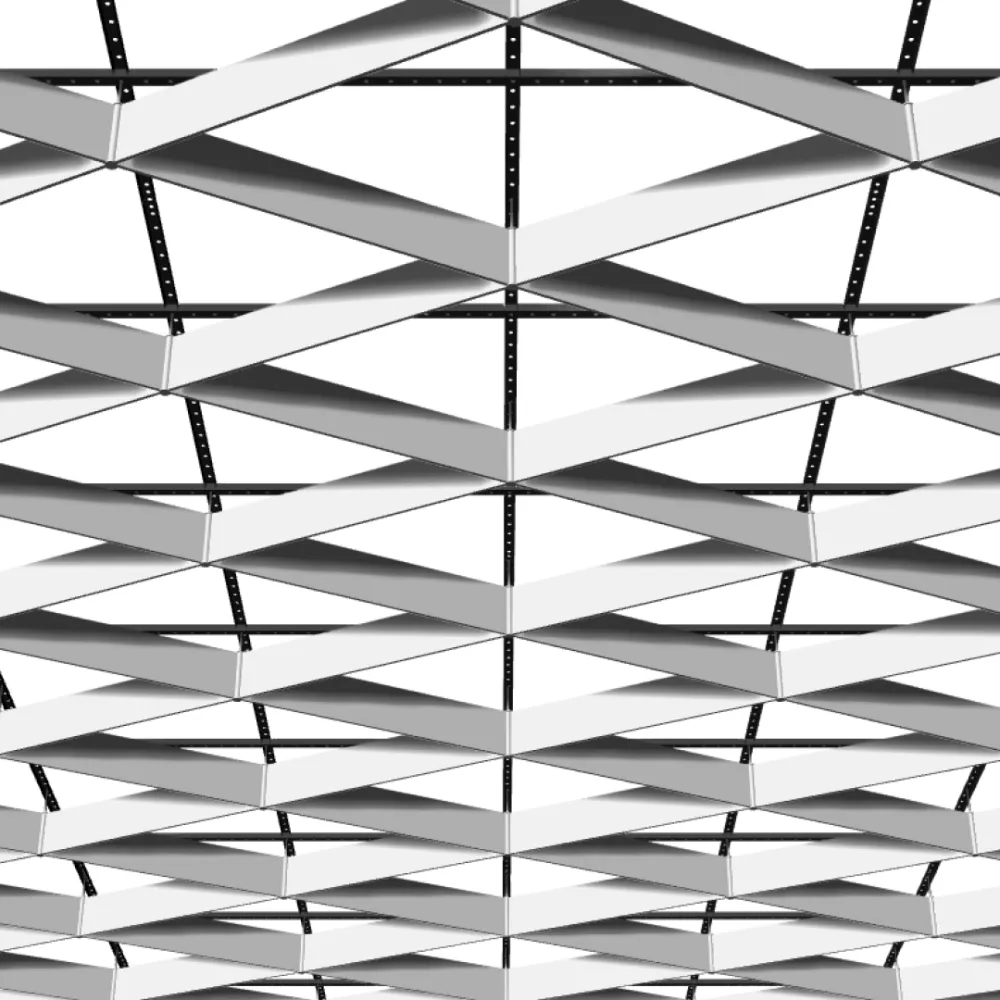
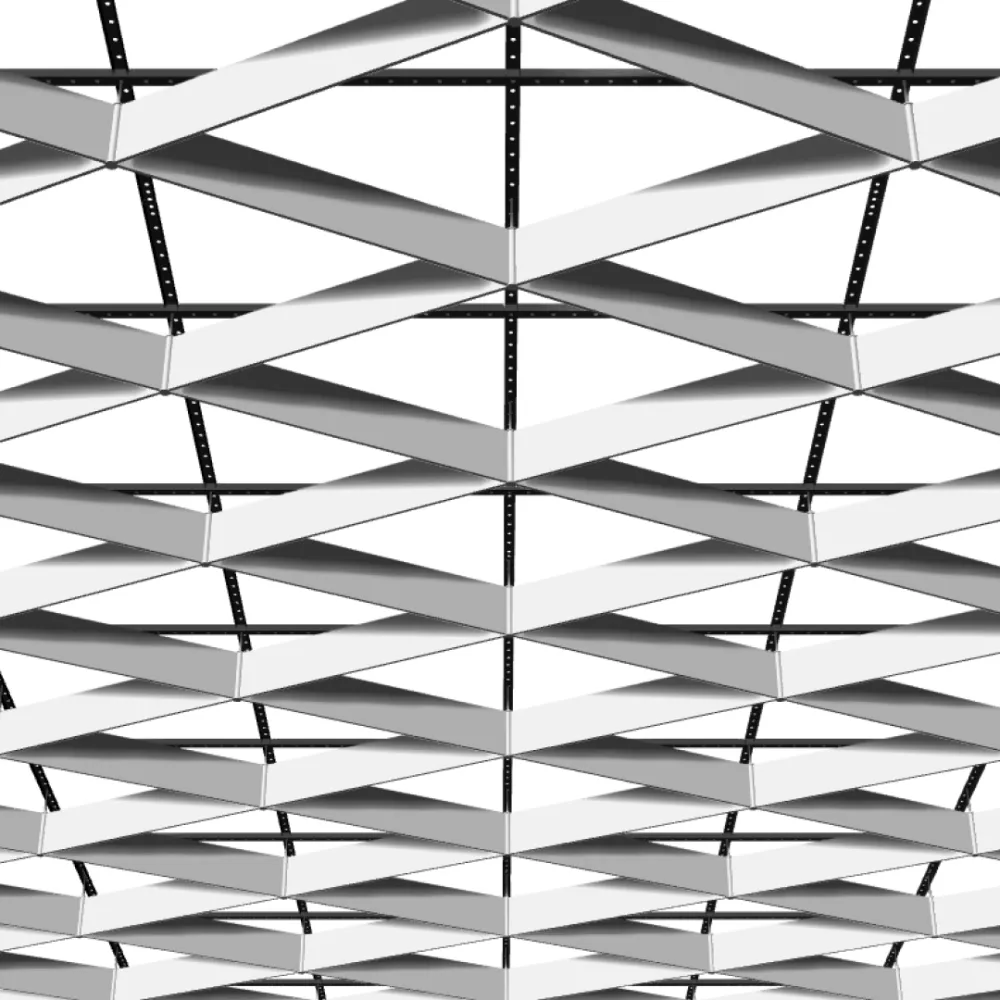
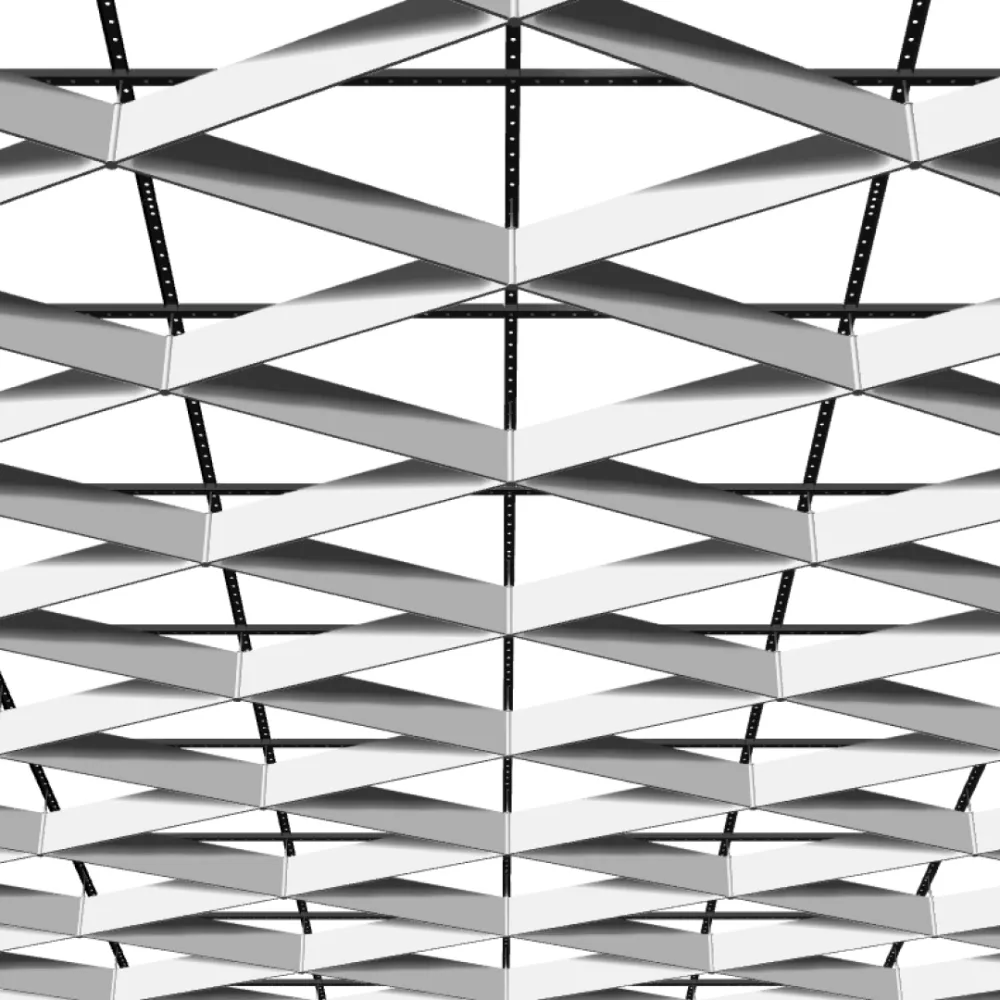
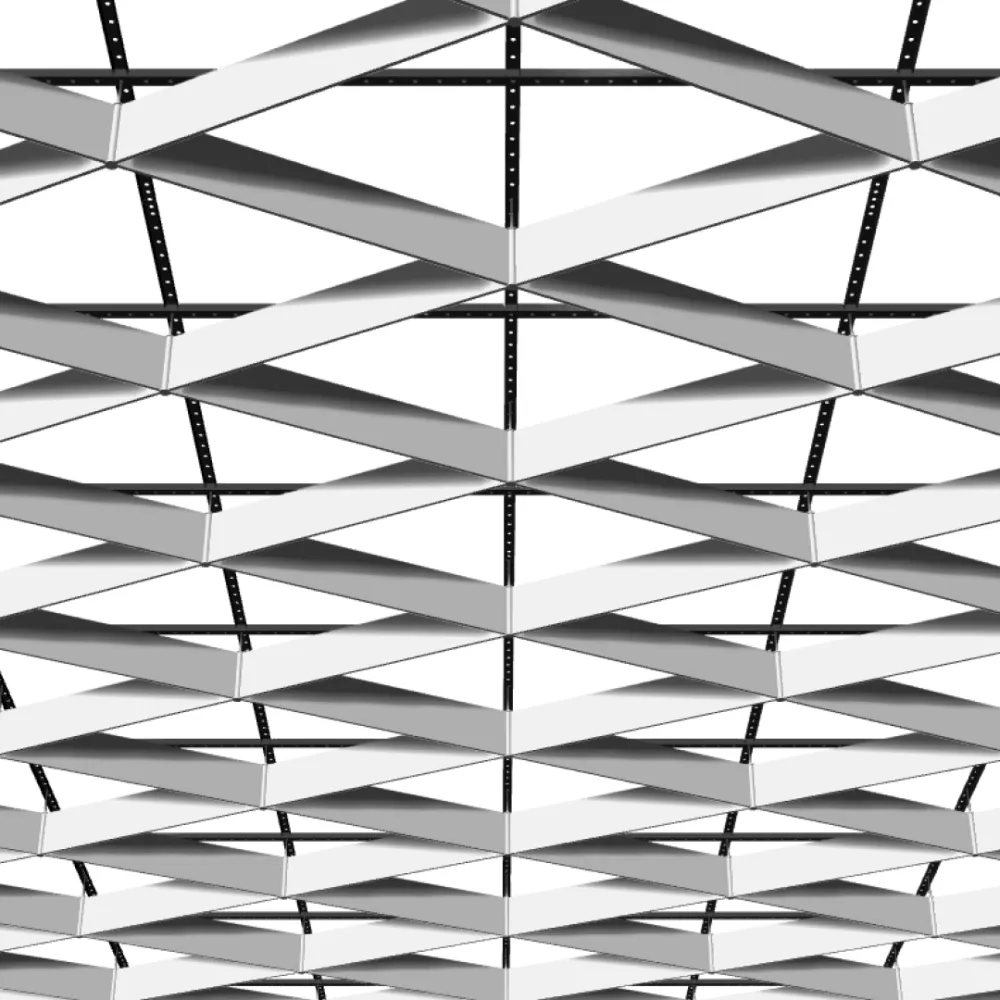
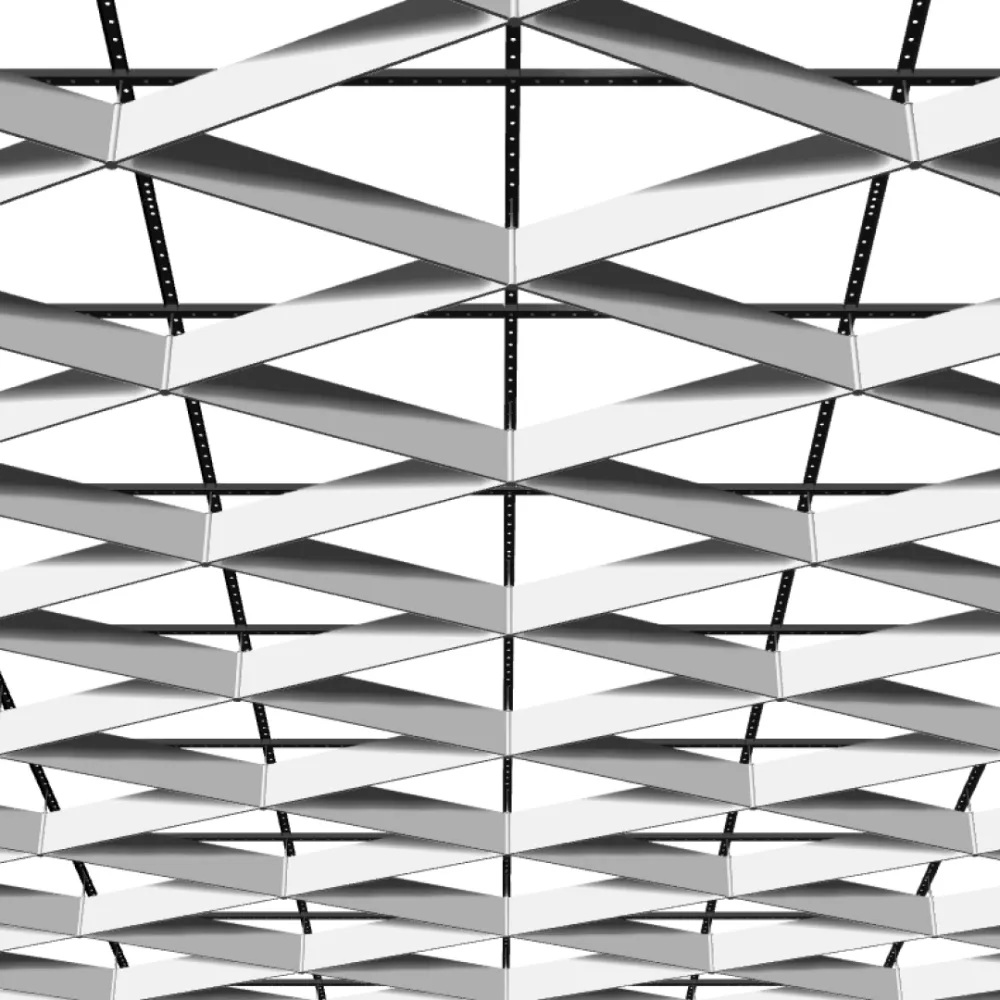
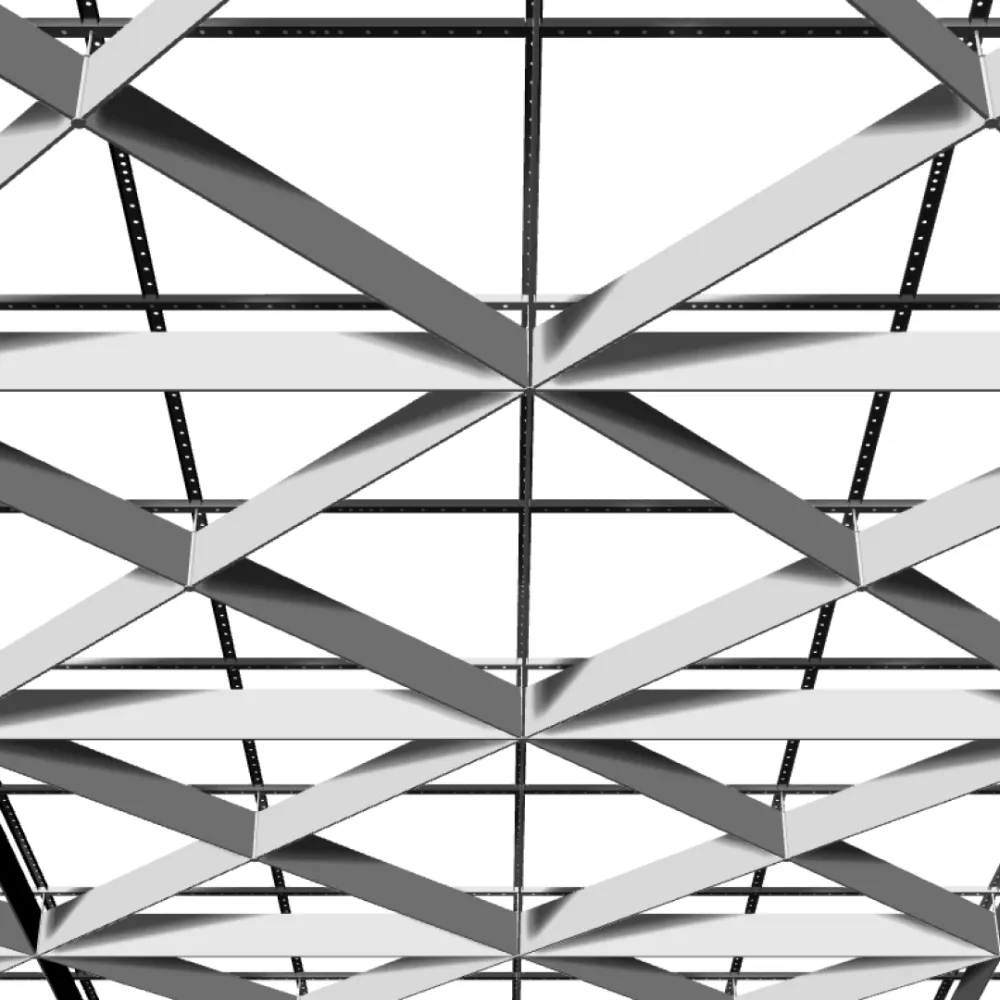
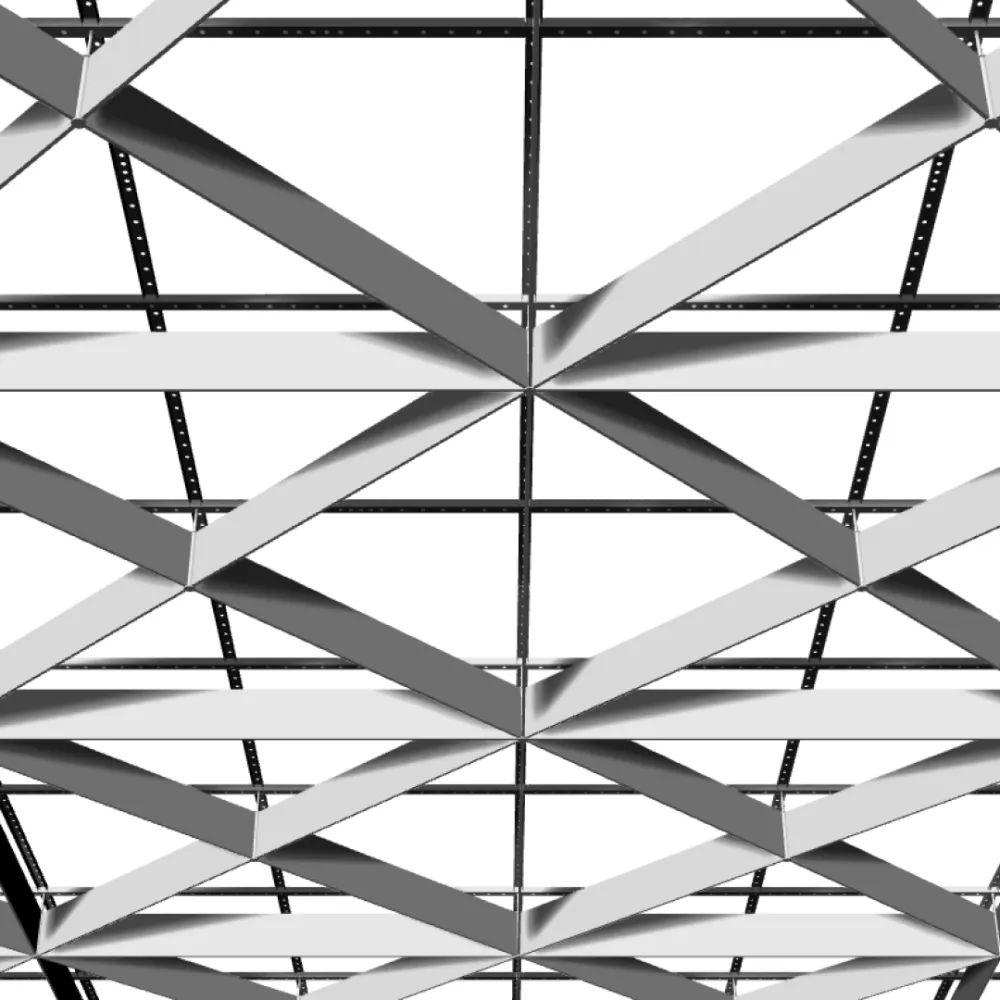
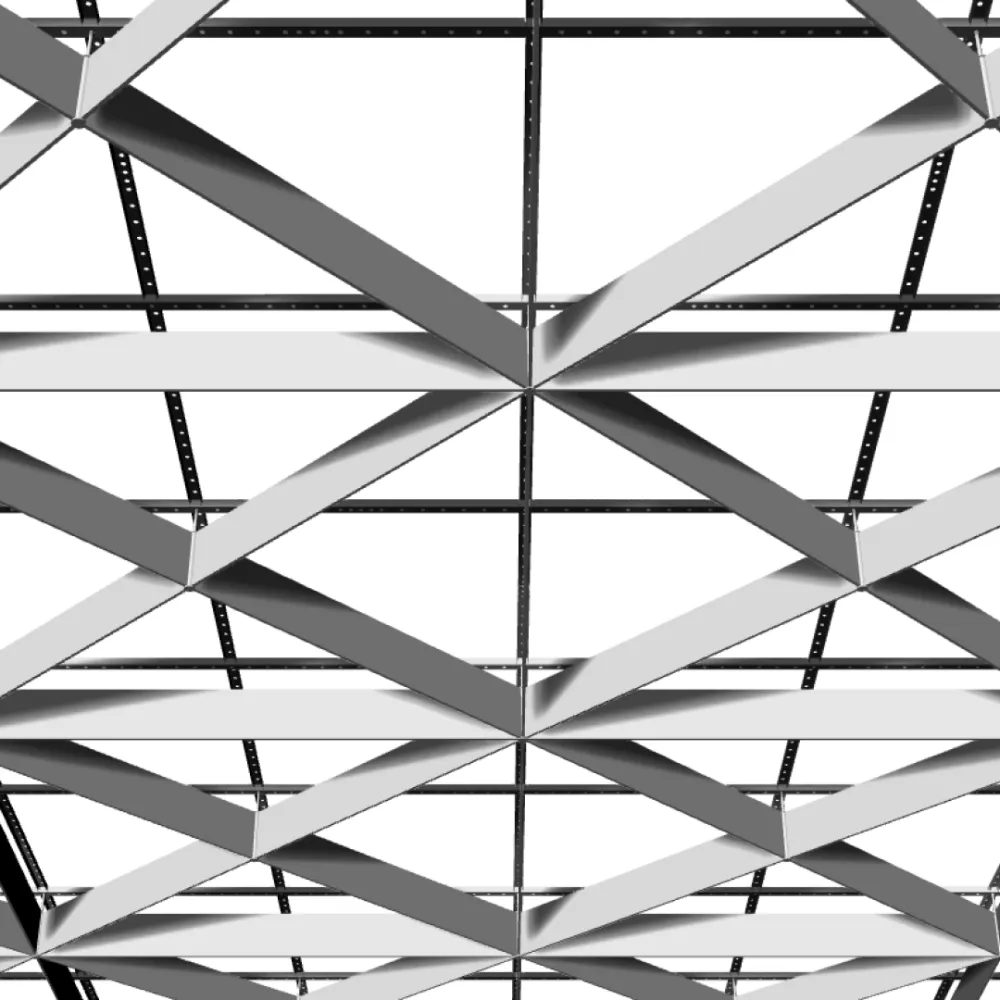
Installation of the OPTIMUS ceiling system is carried out in stages: mounting stud installation, subsystem assembly, connector fixation, and slat installation in accordance with the project layout. The construction is designed for quick assembly, precise geometry, and convenient access to engineering utilities.
Installation of the OPTIMUS ceiling system is carried out in several sequential stages: mounting stud installation, subsystem assembly, connector fixation, and slat installation. The construction is designed for quick assembly and precise adherence to the project layout.
Main Elements of the Ceiling System
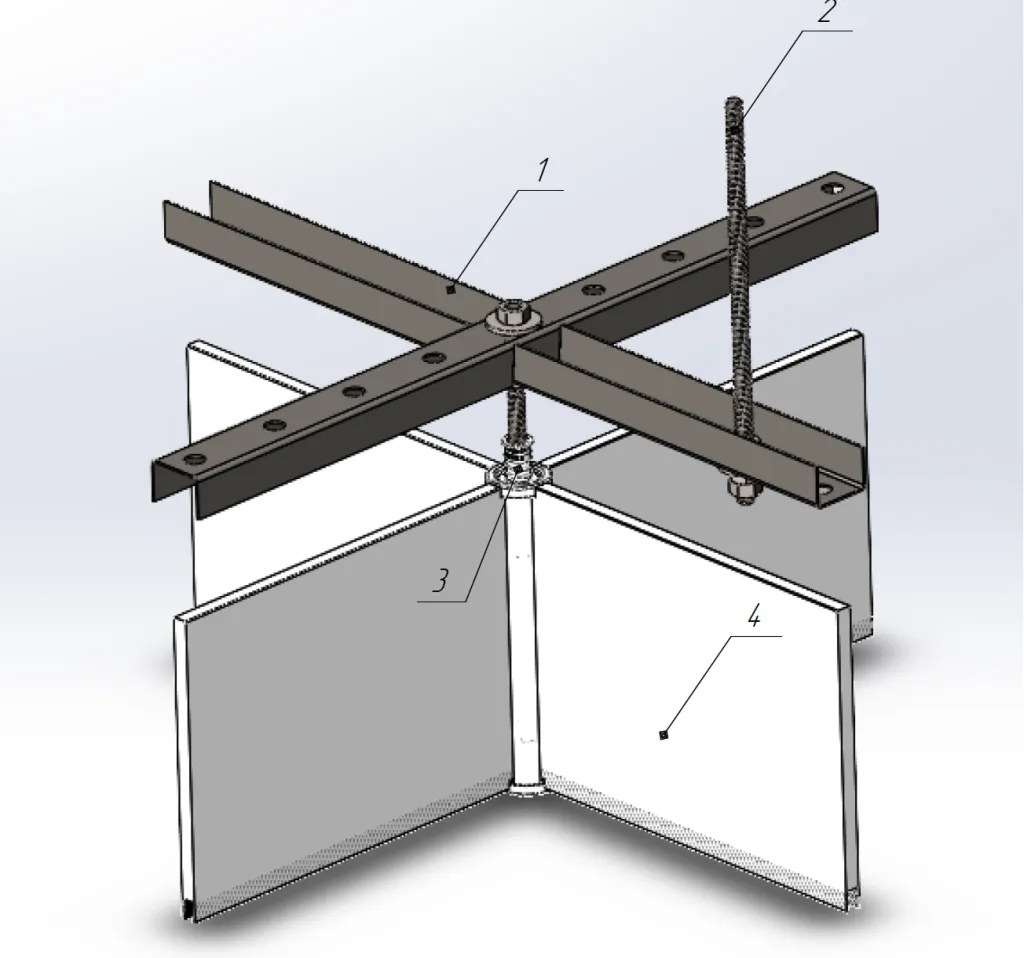
The ceiling construction includes four basic elements:
- subsystem profile;
- mounting stud for fixing the subsystem to the ceiling;
- connector;
- slat.
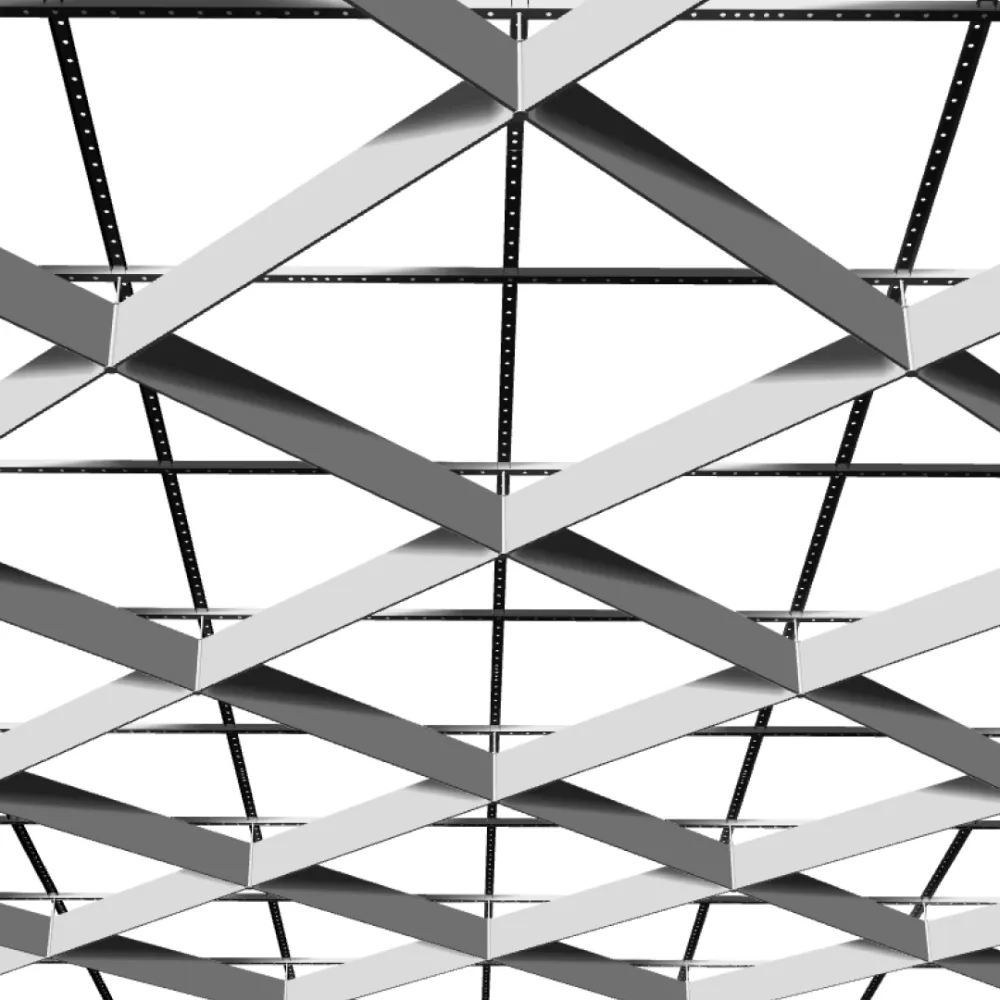
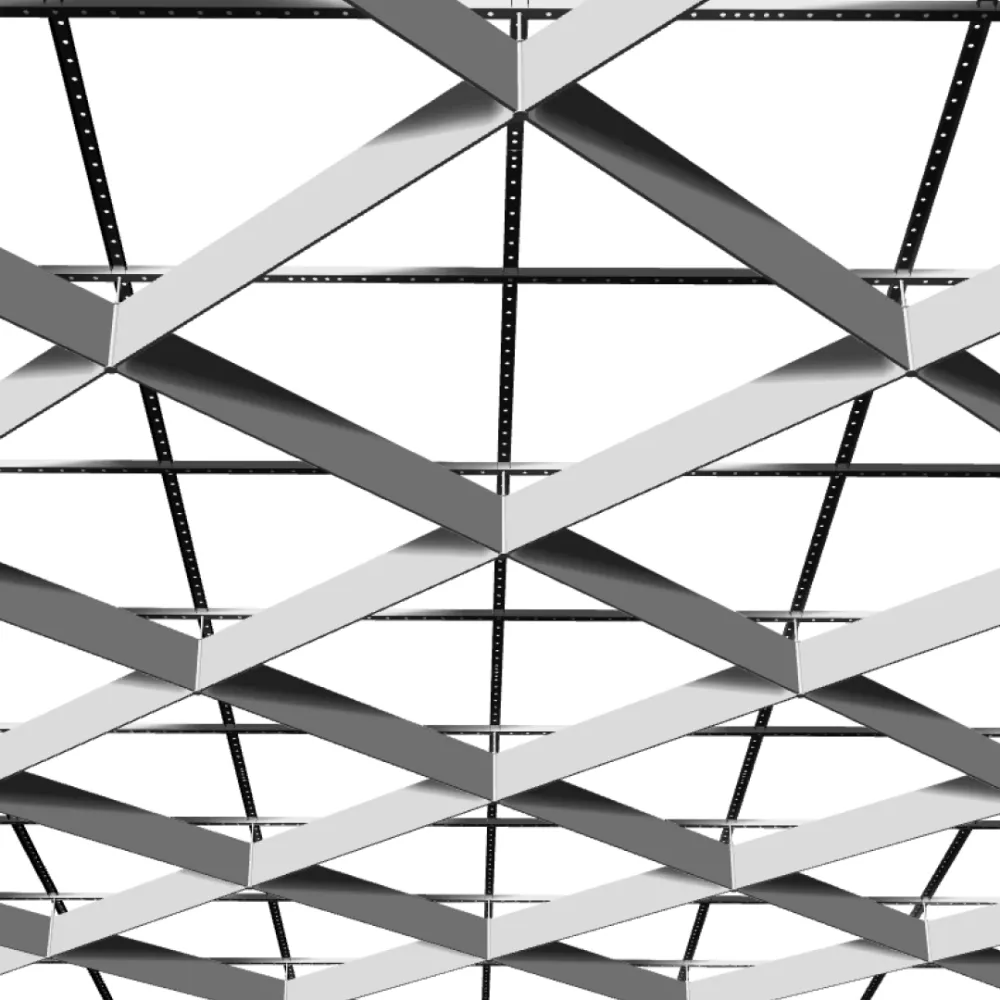
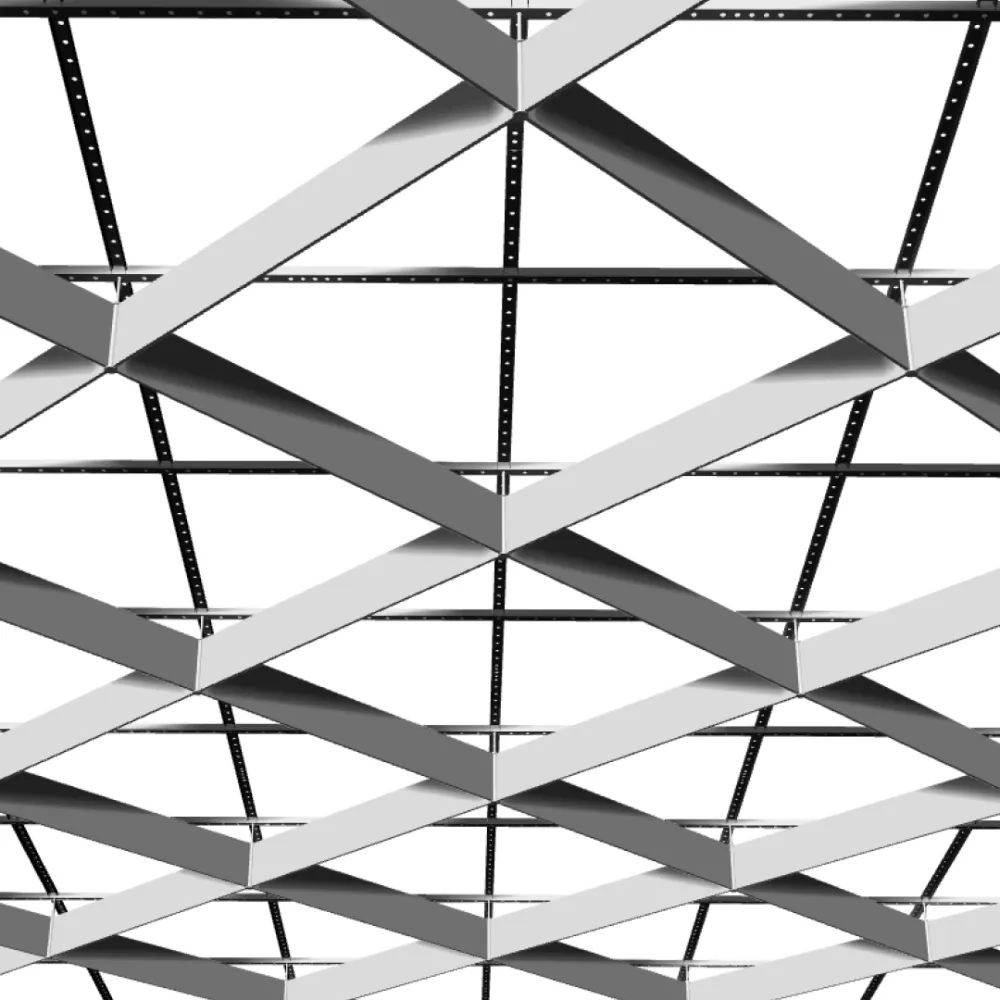
The subsystem forms the load-bearing grid of the construction, and the slats are installed between the connectors in accordance with the project layout.
Stage 1. Subsystem Installation
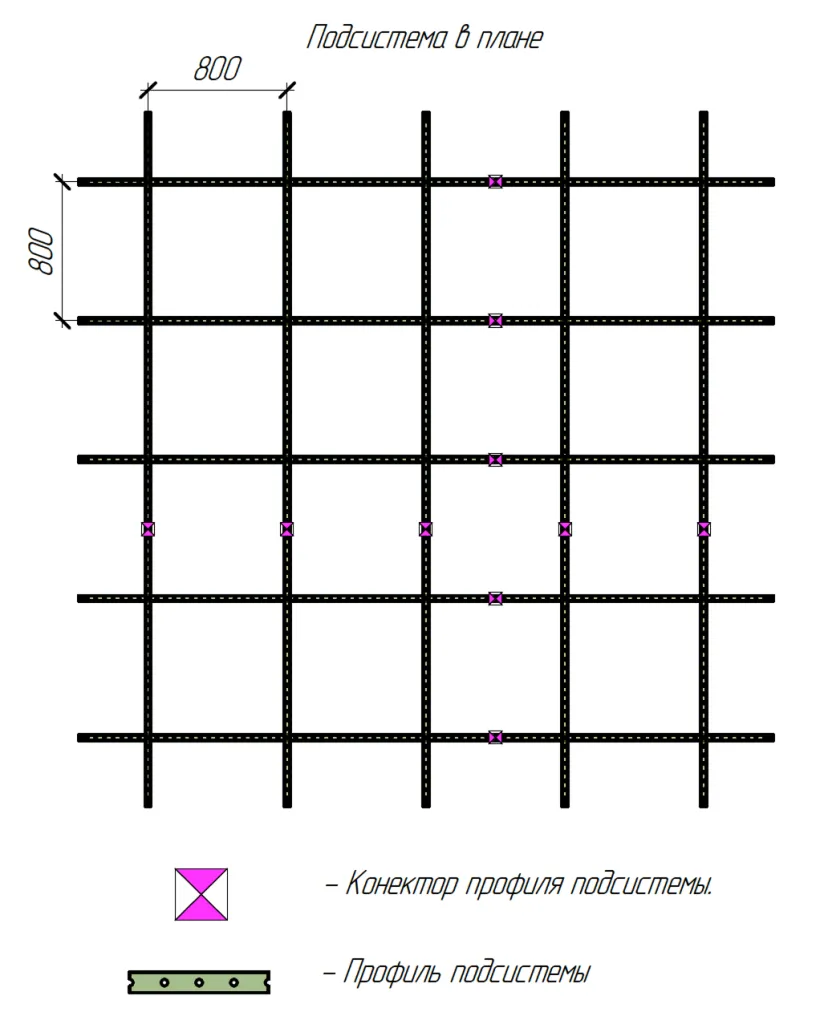
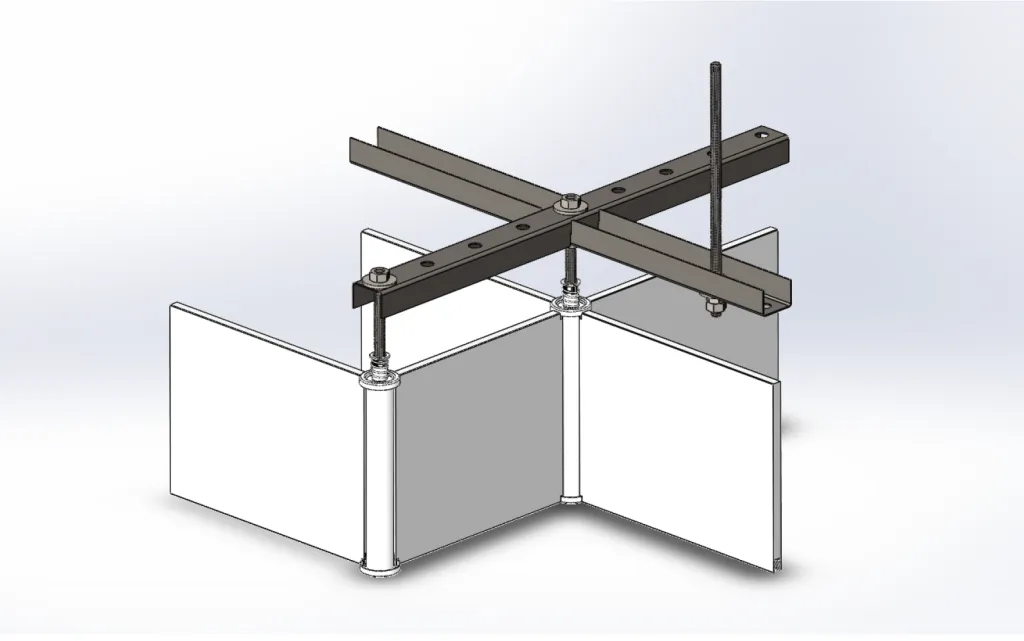
At the first stage, the mounting stud is installed into the slab. The subsystem profile is then fitted onto the stud.
- Standard subsystem spacing — 800×800 mm;
- The stud must not fall at the profile intersection point;
- The lower profile is fixed to the stud;
- The upper profile is placed into the slots from above.
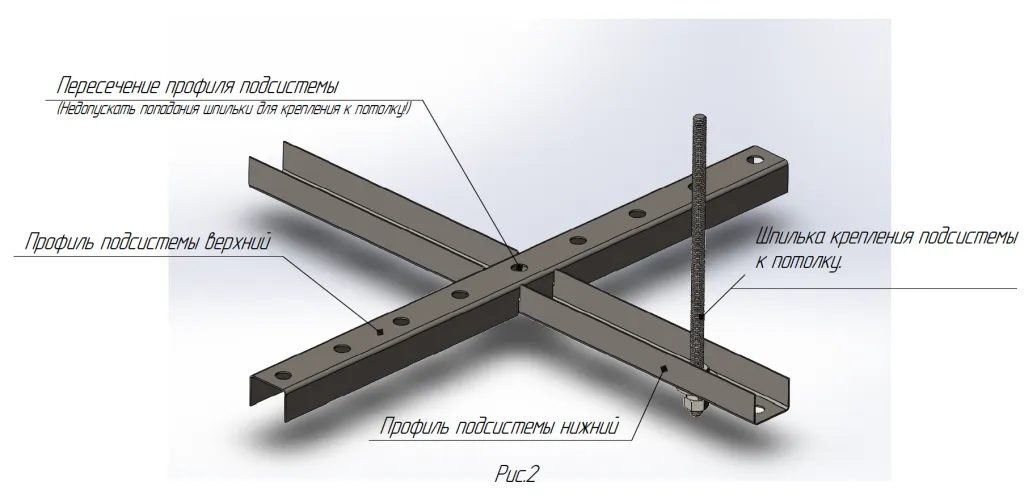
A subsystem connector is used to join the profiles.
Stage 2. Connector Installation
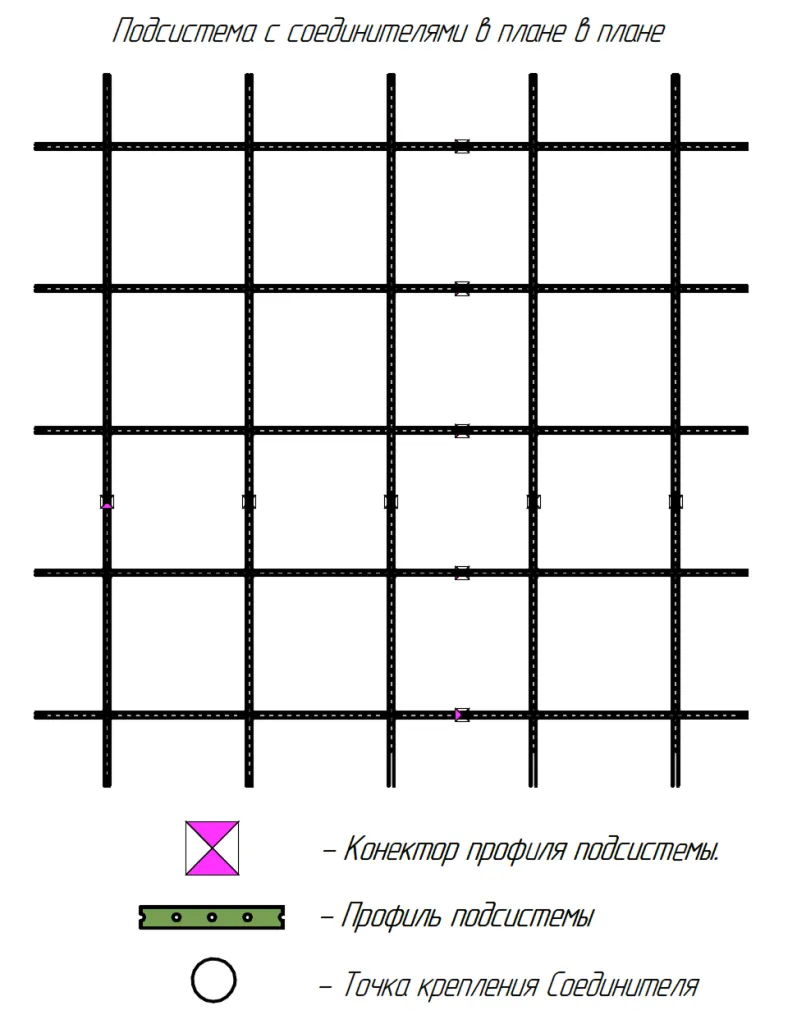
Connectors are fixed in accordance with the project layout, typically at the subsystem intersection points.
- All connectors must be aligned at the same height level;
- The lowest point defines the finished ceiling level;
- The connector can be installed in any hole of the subsystem.
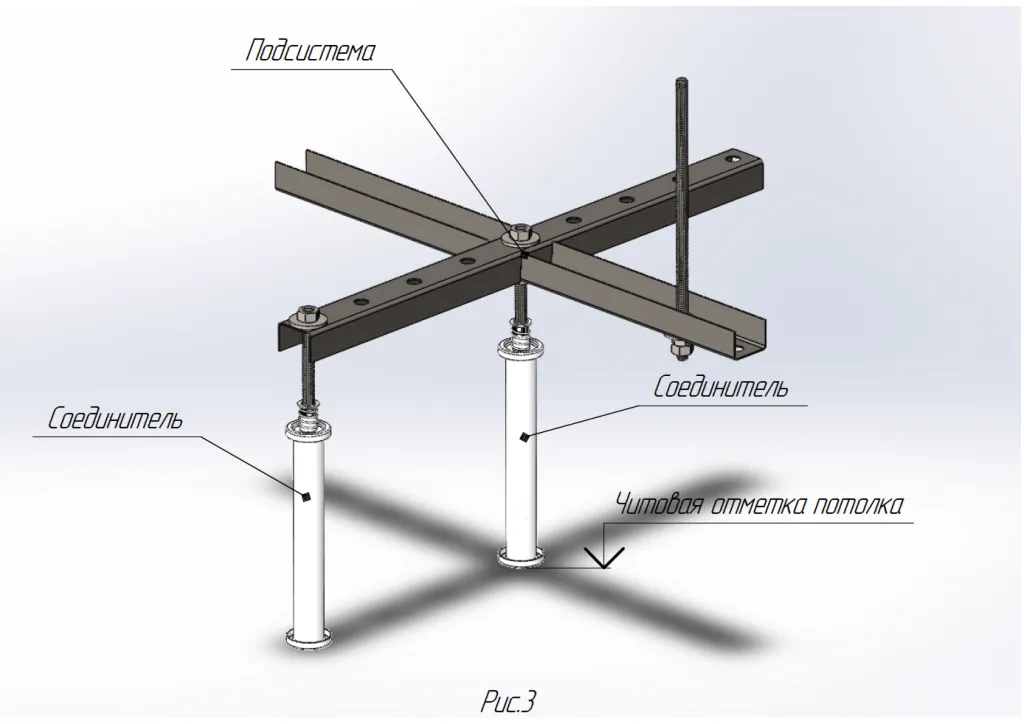
Stage 3. Slat Installation
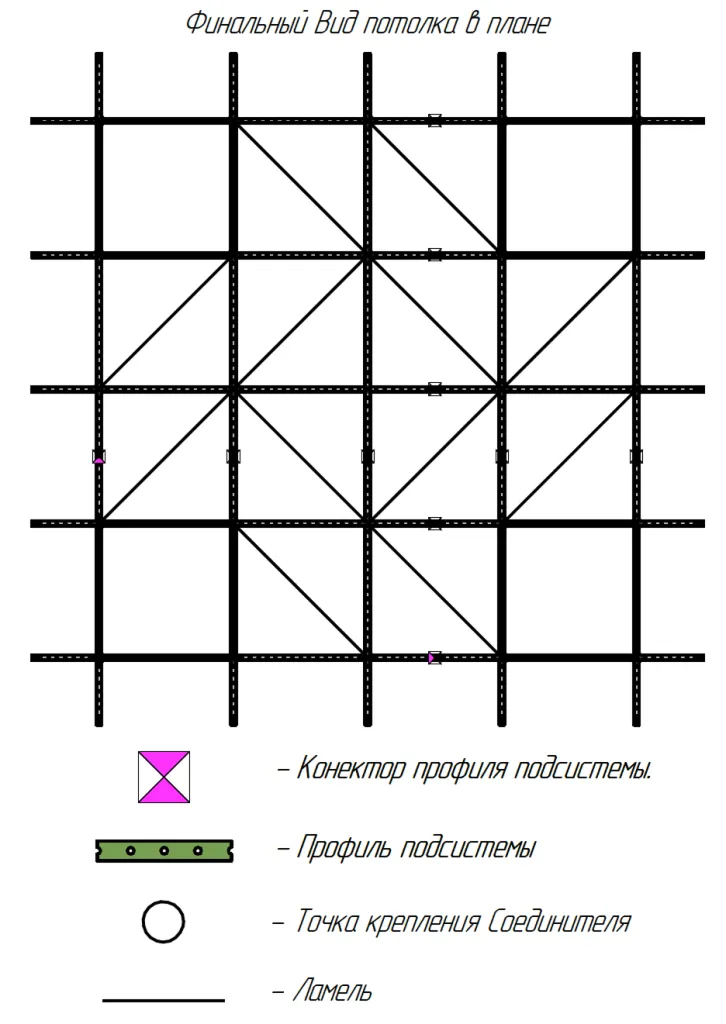
After assembling the subsystem and installing the connectors, the slats are mounted.
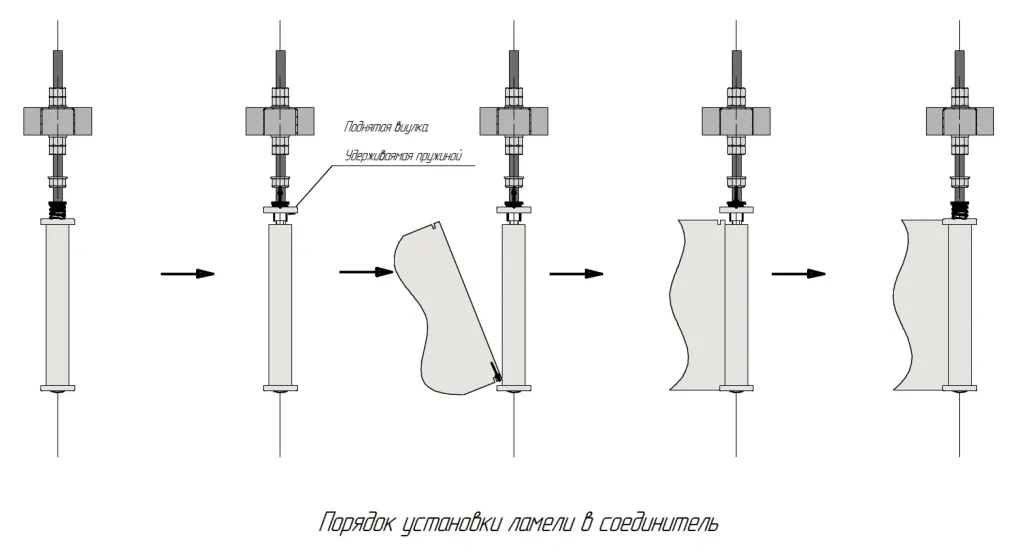
Slat installation procedure:
- Lift the upper sleeve of the connector;
- Insert the slat groove into the lower boss;
- Lower the upper sleeve to fix in place.
Slats are placed strictly in accordance with the approved ceiling layout.
Installation Dimensions
| Parameter | Value |
|---|---|
| Subsystem spacing | 800 mm |
| Slat height | 150 mm |
| Minimum installation height | 227 mm |
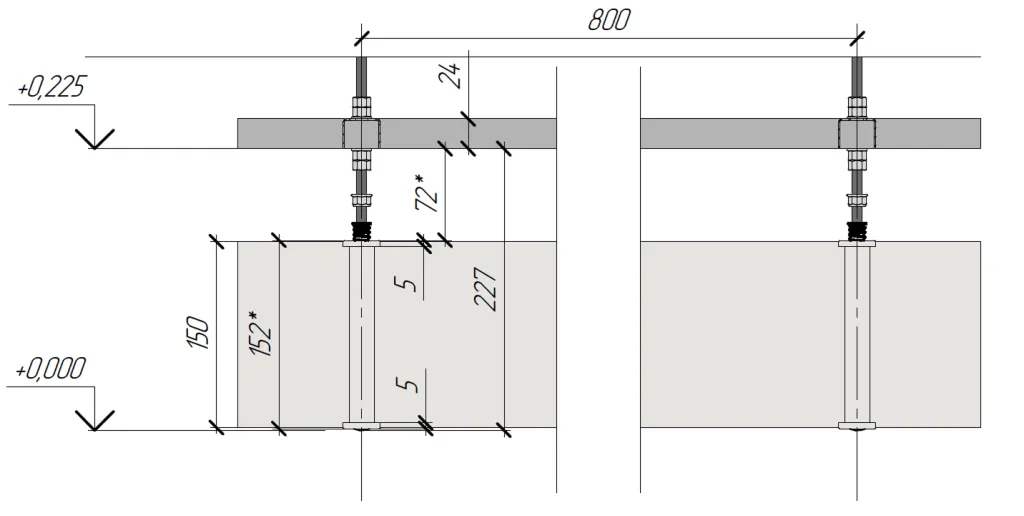
Final Fixing Node
After all elements are installed, a completed fixing node is formed, ensuring stable ceiling geometry and the ability to service engineering systems going forward.